
In the course of owning a home you can sometimes have a wooden fence that surrounds the house — it is something that provides privacy for your home and looks nice as well.
In terms of aesthetics, a wooden fence can look good on its own but some find that painting the fence lends a certain improved look to it and offers protection to it in that paint is better suited against dirt and grime than untreated wood.
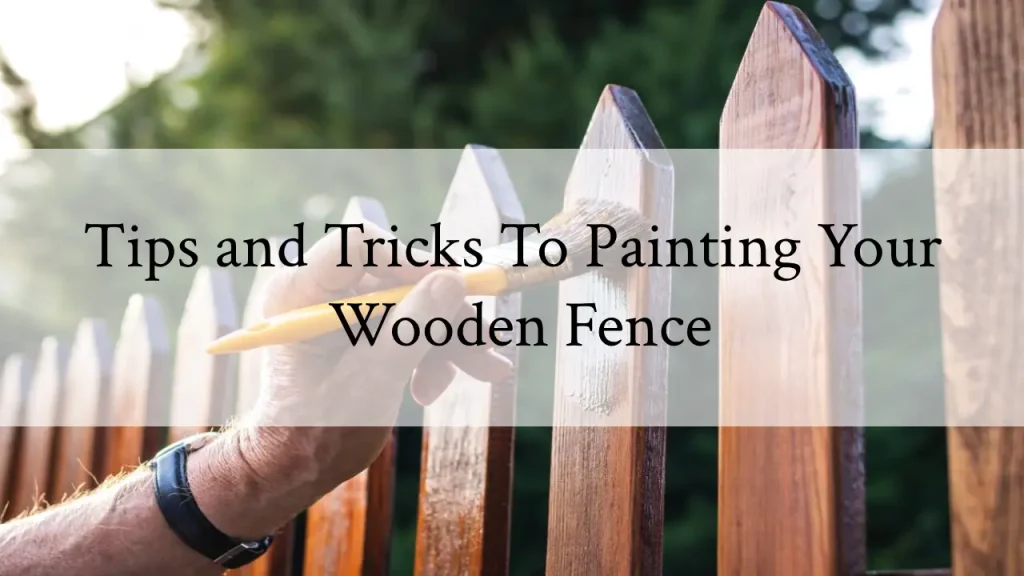
With that being the case, let us look at and consider some tips and tricks to painting your wooden fence in Clarksville, TX in 2020.
1. Prepare The Area
The first thing you should do when you are getting ready to paint your wooden fence is the preparation of the area around the fence itself.
This includes making sure that you have all of the supplies needed for the painting project including sufficient paint, of course — it would be rather a waste of time for you to have to stop mid-painting to need to go out and get more paint if you run out.
You also are going to need to get the immediate area around the fence protected from the possibility of dripping paint, including the area that is closest to the wall of the house that adjoins the fence, if applicable.
For doing this you will want to use some sort of tarp or drop cloth that will go on the ground and possibly the exterior wall of the home.
2. Clean The Fence
Depending on the age of your fence, a good amount of dirt and dust and even mildew / mold will have accumulated on the surface of the fence, and the last thing you’re going to want to do is to try to paint on top of this as it would make a rather unpleasant mess.
You can take care of this with a stiff brush and some soap solution followed by a rinse with water and allowing it to have time to dry.
3. Sand The Fence Well
Another thing that will come with some age is the fact that your fence will not be the right smoothness to paint it.
To get it adequately smooth, you will want to sand the fence with sandpaper.
After you have finished sanding, there will be some sanding dust on the surface of the fence that will need to be cleaned prior to the next step in the process.
4. Apply Primer To The Fence
The next thing you will want to do is to apply a coat of primer to the fence such that the surface of the fence is adequately smooth.
Primer applied to the surface of the fence will ensure that your paint stays on well — paint jobs that go over top coats of primer tend to last a good number of years longer than coats of paint that do not.
You should allow for the primer coat to dry prior to applying the coats of paint.
5. Paint The Fence
Lastly, you’re going to want to apply the first and second coats of paint — the first and then the second, allowing plenty of time for each coat to dry.
Once you have finished these steps you will have a well painted fence that will be protected better against harsh weather and be easier to clean over time.
It’s a lengthy process from beginning to finish but when you see the results you will know that it is well worth it.