
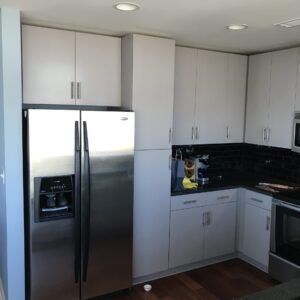
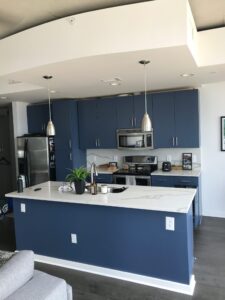
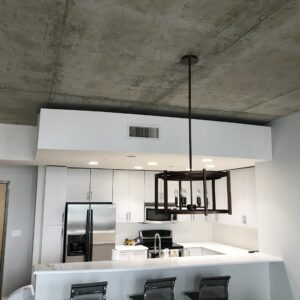
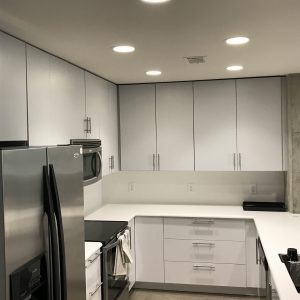
Cabinet Painting can transform a kitchen. Here we offer you a step by step guide to Brush & Color Painting’s Process for cabinet painting in Austin, TX.
Cabinet Painting is a challenging project to do yourself and expect stunning results. Brushing a finish onto cabinets is the preferred method of a diy’er – not giving you that factory finish that is expected. At Brush & Color Painting, our Artists and Technicians use spray technology as well as high performance products, with stunning results. At Brush & Color Painting, we believe in a system-solution for Cabinet Painting.
Painting Cabinets, Systematized
Our Cabinet Painting Process, step by step
1. Label each cabinet door/drawer face.
Labeling each door and drawer ensures that they will go back to the proper place and maintain a uniform look.
2. Remove Cabinet Hardware.
We carefully remove each piece with the proper labeling and ensure they maintain their structure.
3. Transport Cabinet Doors (where applicable).
Using your garage is the ideal workspace for painting you cabinets. Ask your paint contractor where they intend to complete the process.
4. De-grease all Cabinet surfaces.
Cleaning cabinetry is a vital step in ensuring the finish will last.
5. De-Gloss all surfaces.
Prior finishes need a light sanding, or in some cases a de-glossing product may need applied.
6. Patch any “dings and dents”.
Patching imperfections during the prep process will save time in the future.
7. Sand all surfaces.
After patching, Sanding the surfaces ensures the smoothest finish.
8. Prime all surfaces.
Primer is another very important step, as it will allow the new top coat to last for years to come.
9. Dry Time – A Vital Missing Step
Letting primer cure is a commonly skipped step. Make sure you follow paint-label dry times.
10. Buff sand
Sanding between coats enables the smoothest finish possible.
11. Primer second coat.
To level the surface and ensure an even top coat.
12. Buff sand
13. First coat top-coat.
Allow to cure according the label instructions.